Zapier app setup and troubleshooting
Complete setup guide for LienDeadline Zapier app integration using OAuth2 authentication.
Use this runbook when you need a predictable production setup path.
Default setup path (templates first)
For first launch, do not start from a blank/free-form Zap. Start with one canonical template:
- Template A: Source invoice event ->
Create Deadline Project From Invoice - Template B:
Upcoming Deadline-> Slack/Teams message - Template C:
Deadline Reminder-> Email/SMS message - Template D:
Upcoming Deadline-> Google Sheets/Airtable row append
Internal mapping/idempotency spec: docs/zapier-workflow-templates.md.
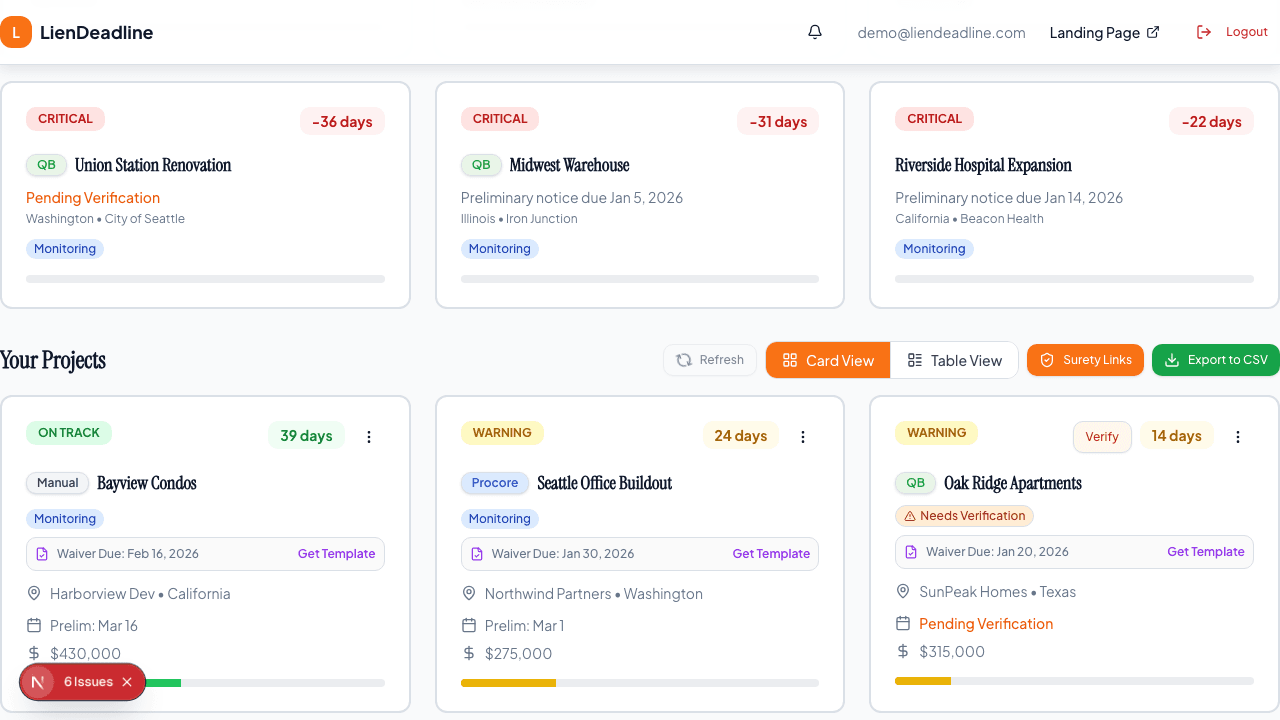
Step 1: Open the setup flow
- Open
Dashboard → Integrations. - Click
Open setupunder Zapier Integration. - Use
Read setup guideif you want the public article open beside the dashboard flow. - In the setup page, click
Open Zapier App, then start withConnect Account.
Step 2: Complete OAuth connection
- Zapier opens the LienDeadline authorization page at
https://liendeadline.com/api/zapier/oauth/authorize. - If you are not signed in, sign in to LienDeadline.
- LienDeadline returns you to Zapier. There is no separate approval screen.
- Run
Test authentication.
Expected result: auth test succeeds and the connection is labeled with your LienDeadline email address.
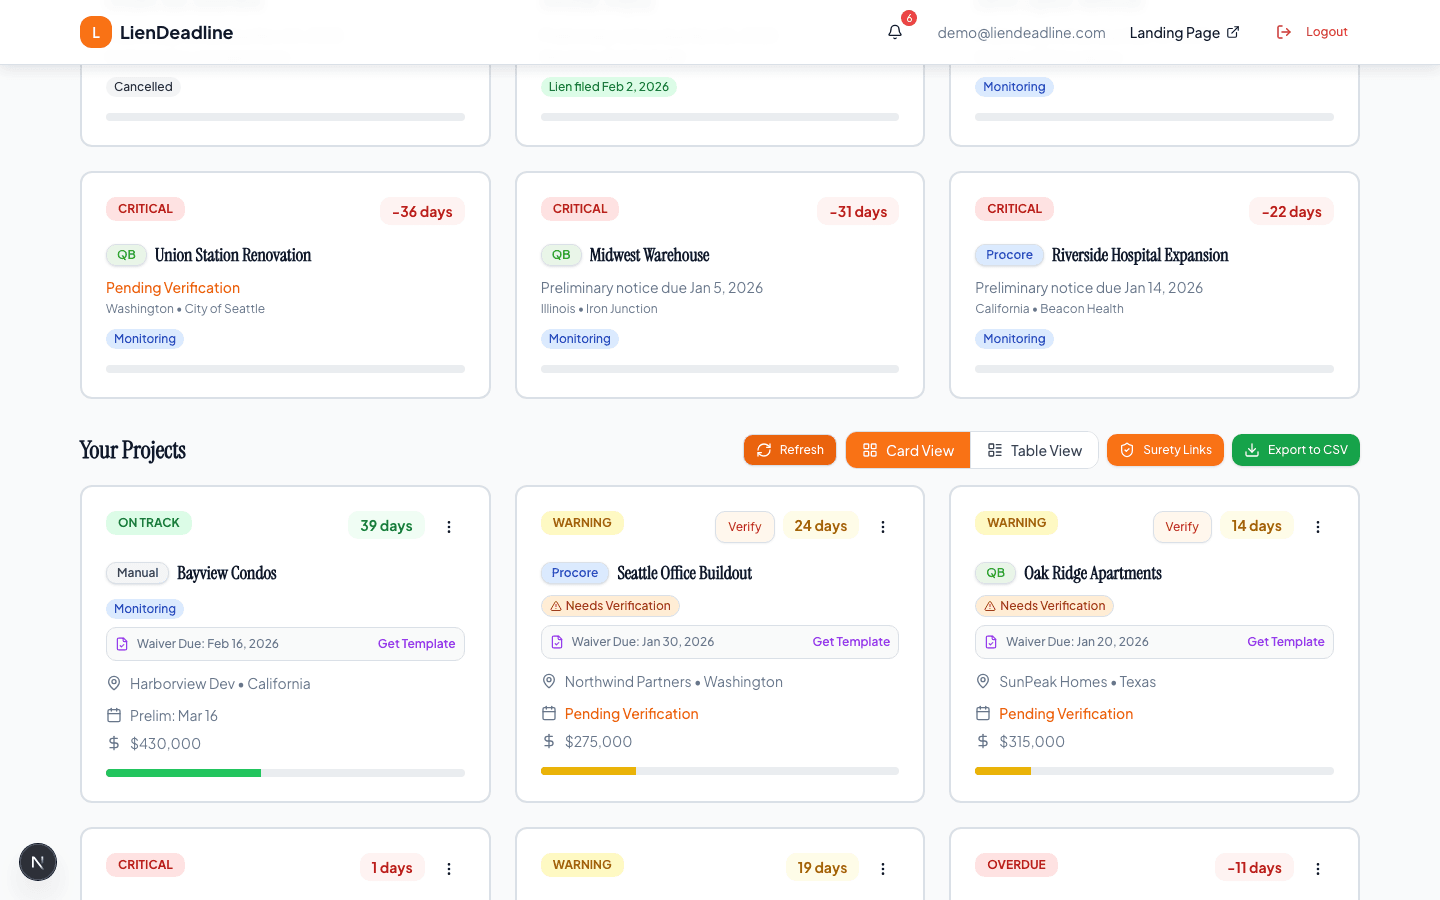
Step 3: Test LienDeadline triggers
Select a canonical template first, then test the required trigger:
Upcoming Deadline- or
Deadline Reminder
Both return stable records using id as the dedupe field.
Step 4: Activate and verify
- Turn the Zap on.
- Wait for the first poll cycle.
- Confirm task creation in destination app (Slack, Asana, email, CRM).
Troubleshooting map
-
invalid_client: Verify OAuth client id/secret in Zapier app auth config match server env. -
invalid_grant: Authorization code or refresh token is stale/reused; reconnect account. -
No records found: Check there are projects with deadlines inside yourdays_aheadwindow. -
Duplicate tasks: Set dedupe toid; do not use onlyproject_id. -
Expected instant polling: Zapier polling frequency depends on your Zapier plan and can delay first run.
Endpoints used by the Zapier app
The authorization step opens in your browser on the website host. Zapier sends every other request directly to the API host. Request and response details for each endpoint are in the Zapier Integration API Reference.
-
OAuth authorize (browser, website host):
GET https://liendeadline.com/api/zapier/oauth/authorize -
OAuth token (API host):
POST https://secure-api-v1.liendeadline.com/api/zapier/oauth/token -
Connection test:
GET https://secure-api-v1.liendeadline.com/api/zapier/status -
Upcoming trigger:
GET https://secure-api-v1.liendeadline.com/api/zapier/v2/triggers/upcoming -
Reminder trigger:
GET https://secure-api-v1.liendeadline.com/api/zapier/v2/triggers/reminders -
Create action:
POST https://secure-api-v1.liendeadline.com/api/zapier/webhook/invoice
QA verification checklist
- Setup starts from one canonical template (A-D), not a blank Zap.
- OAuth auth test passes in Zapier.
- Trigger test returns sample records.
- Live Zap run creates downstream action.
- No duplicate task creation when polling repeatedly.
- Telemetry counters increment for OAuth + poll + webhook events.
Ready to connect Zapier?
Open the guided dashboard setup, connect the private Zapier app, and use the canonical templates for your first live run.